Showing posts with label colors. Show all posts

Tuesday, November 5, 2013

Tiny Nursery, Part 1

About a month ago, Ma MJ came to town to help turn the former tiny office into a tiny nursery (Baby MJ is supposed to arrive just before Thanksgiving).  We painted, hung curtains, put together a crib, and generally got things in order.  It was a warm end to September here, so all our windows were open, our back porch was in use for relaxing, and lots of work got done.

Before Ma MJ arrived, we had to choose a paint color to replace the vivid coral (I loved this coral, and hope to use it again, but I didn't think it was restful enough for a bedroom).  We decided to use Benjamin Moore Natura, a VOC-free paint.  We narrowed our color choices to a couple of medium-dark blue-grays.  We chose the color on the right, Pike's Peak Gray, because of the way in complemented both the trim paint and ceiling/upper wall paint that was already present.


Once Ma MJ was here, we taped off the coral area, and then we primed.  Next, we primed some more.


After several coats of primer, we got to the new color.  The BM paint is lovely, goes on well, covers well, no smell, and is worth the $$.  Really nice to work with.  After two coats of Natura, here is our new Pike's Peak Gray room (upper wall and ceiling are still Behr Linen White).


The tiny nursery's tiny closet.  More on this space later.

I created some potato print curtains for the room (stay tuned for separate post), which we planned to hang along the length of the back wall.  This seemed to me to be the best way to deal with the variety of surfaces and openings here.  We used the Ikea Dignitet tension wire hardware to span the space.

Mr MJ making it look easy.  In reality, he was drilling into brick; the whole process took far longer than anticipated.

Two + hours later: not simple or easy, as it turned out, but worth it!

The next afternoon, Mr & Ma MJ assembled the crib (the ubiquitous Ikea Gulliver).  I minded the tools, sorted the hardware, and occasionally provided a 5th or 6th hand.


With the addition of a refurbished chest of drawers from Craig's List and a rag rug we already had, plus our week of work, we had a functional room!  It was still in need of finishing touches, one or two cute doodads, and maybe some artwork, but we knew if Baby MJ arrived early he would have a place to land.  Thanks Mom! (again)


Tuesday, July 10, 2012

From a Basement on the Hill: More on the Floor

 We celebrated the 4th of July by declaring our independence from vinyl tile...at least in the basement.

There were two layers of vinyl tile on the floor in the back half of the basement: one self-stick (visible in the garbage bag below), one old VCT (same stuff we had installed in our kitchen, but much less beautiful, shown in the second photo).


Because we did not know the age of this flooring, we knew we needed to remove it with care because of the possibility of asbestos.  After some research, we determined that if we kept the tiles intact, did not sand, and worked in a damp environment with ventilation, we would be okay.

So, we filled our utility sink with hot water, soaked some old towels in it, and laid those out on the floor as we worked with putty knives and a flooring shovel to lift the tiles.  The heat and moisture from the wet towels was very, very effective at loosening the vinyl adhesive (which perhaps had loosened from age and wear as well).  Less than five hours later, we had a bare floor and 6 garbage bags full of trash.


The next day, I thoroughly vacuumed, wet mopped, and vacuumed the bare concrete.  Then I painted. (Behr Porch & Floor Paint in silver gray, low sheen finish.)

Here you can see the results of two coats of floor paint (minus a few spots where big furniture was in the way -- those will get touched up later), plus scraping the paint of the windows.  


I painted the stairwell between the basement and kitchen as well.  I used leftover yellow paint from our kitchen bead board.


Now for some electrical work...the professionals are scheduled to be here in a couple of days.  The end is drawing nigh! 

Wednesday, June 27, 2012

From a Basement on the Hill: From Gray to Great

A couple of weeks ago, after the demolition and trash hauling were complete, I cleaned the basement up and wrapped it in plastic, like so:


Every surface or object that I wanted to keep paint-free needed to be covered, since I began to paint with this new fun tool:


I got a small, hand-held paint sprayer to help me with this part of the project, after realizing that several days of renting one would more than pay for buying one.  After some experimentation, I figured out that I could thin latex paint down with water to a 30-second run out time (if you ever use a paint sprayer, you'll learn what this means!).  I also figured out that, like all the objects I covered up, I needed to cover myself up as well.  I wore goggles, a dusk mask, a bandana around my hair, works gloves, long pants, and long sleeves while using the sprayer.  I still ended up with a fine mist of paint on various parts of myself.

Much like the demolition, this was dirty, exhausting work, not to mention hard to document in photographs.  After the first coat of paint on the ceiling and floor joists (old, old wood that had never had any kind of treatment applied), which took two whole work days, it didn't seem like I'd accomplished anything but spreading around a lot of dust and paint.  But after 2 weeks and 2-3 coats of primer and paint, this is what I've got:


Wow!  What a difference from the first photo in this post!  A week into the painting, I thought it might take me a month to get to this point.  I despaired of having a proper workspace again before fall.  But the work took a turn for the better this past weekend, and now I think I can move on to the next phase.


And look at this beautiful, clean laundry corner!  Now if I can get some better lighting, I don't think we'll lose any more socks.


Tuesday, January 17, 2012

Kitchen Conundrum: Another Weekend, Part 2

When we decided to use beadboard panelling, we first thought we'd just do the backsplash area. But when we realized we could benefit from a lot more color in the kitchen, we decided to extend the panelling all the way around the room.

After cutting the panels down to size and painting them, we began installing them on the wall using construction adhesive and finishing nails.


Construction adhesive on the wall:


Panelling going up on the wall that will be behind the refrigerator (hence the bits-and-pieces approach -- it won't be too visible). Note our inept cutouts for the electrical outlets (we got better at this part).


Backsplash in place:


Finished panelling, with seems caulked and awaiting paint touch-ups and trim:


Cheerful, sunny, and bright!

Kitchen Conundrum: Another Weekend, Part 1

We began this past weekend with a Saturday morning trip to the Despot, where we purchased four 4'x8' sheets of beadboard panelling, 12' of trim, related supplies, and paint. We also rented a pickup truck to get it all home. Several hours later, our back porch was a cold but functional wood shop.


We cut and trimmed the large sheets of beadboard down to fit in the gaps around our kitchen. My coat became a sawdust magnet. At least it's washable.


Our yellow paint. We chose Martha Stewart's Haystack; Martha Stewart colors are now being mixed with Glidden bases. Seems to work okay.


By the time Sunday evening rolled around, we had two coats of paint on our panelling pieces.

Sunday, January 15, 2012

Kitchen Conundrum: What We Are Thinking About


We've been mulling over yellows and working out a DIY backsplash.

Wednesday, January 11, 2012

Kitchen Conundrum: Yesterday was Day 6...

...and we hit a snag. The new range is damaged and leaks, so we are awaiting a replacement and definitely not yet cooking with gas. However! The Professionals' job is complete. Yesterday they finished up a few electrical odds & ends and installed the cabinet hardware.


So, now we've got to get to work with paint, beadboard backsplash, shelf paper, and moving back in. Our plan had been to paint everything white. However, when I started that yesterday afternoon, it felt very stark. Not the first time I've changed my mind mid-paint job; going to have to give this some more thought.

Monday, November 21, 2011

Wild Hair: Painting the Front Door

The dirty old dingy-white front door was not the most welcoming of entrances to the Ear. A couple of weeks ago, I finally decided to do something about it.


I cleaned it really well, and on a warm, dry day, got out a can of Rustoleum (always to the rescue, it seems) and some sponge brushes.


A few hours, spread out over a couple of weeks later, I got this:


Better, yes? Perhaps not the most optimal color, but when the mood strikes, sometimes you've just got to use what's on hand.

Friday, July 15, 2011

Fun With an Extension Ladder: Painting the Landing, Finishing Up

On Wednesday I got the second coat of gray applied to the walls. Fresh and clean!

Up next: lighting.


Tuesday, July 12, 2011

Fun With an Extension Ladder: Painting the Landing

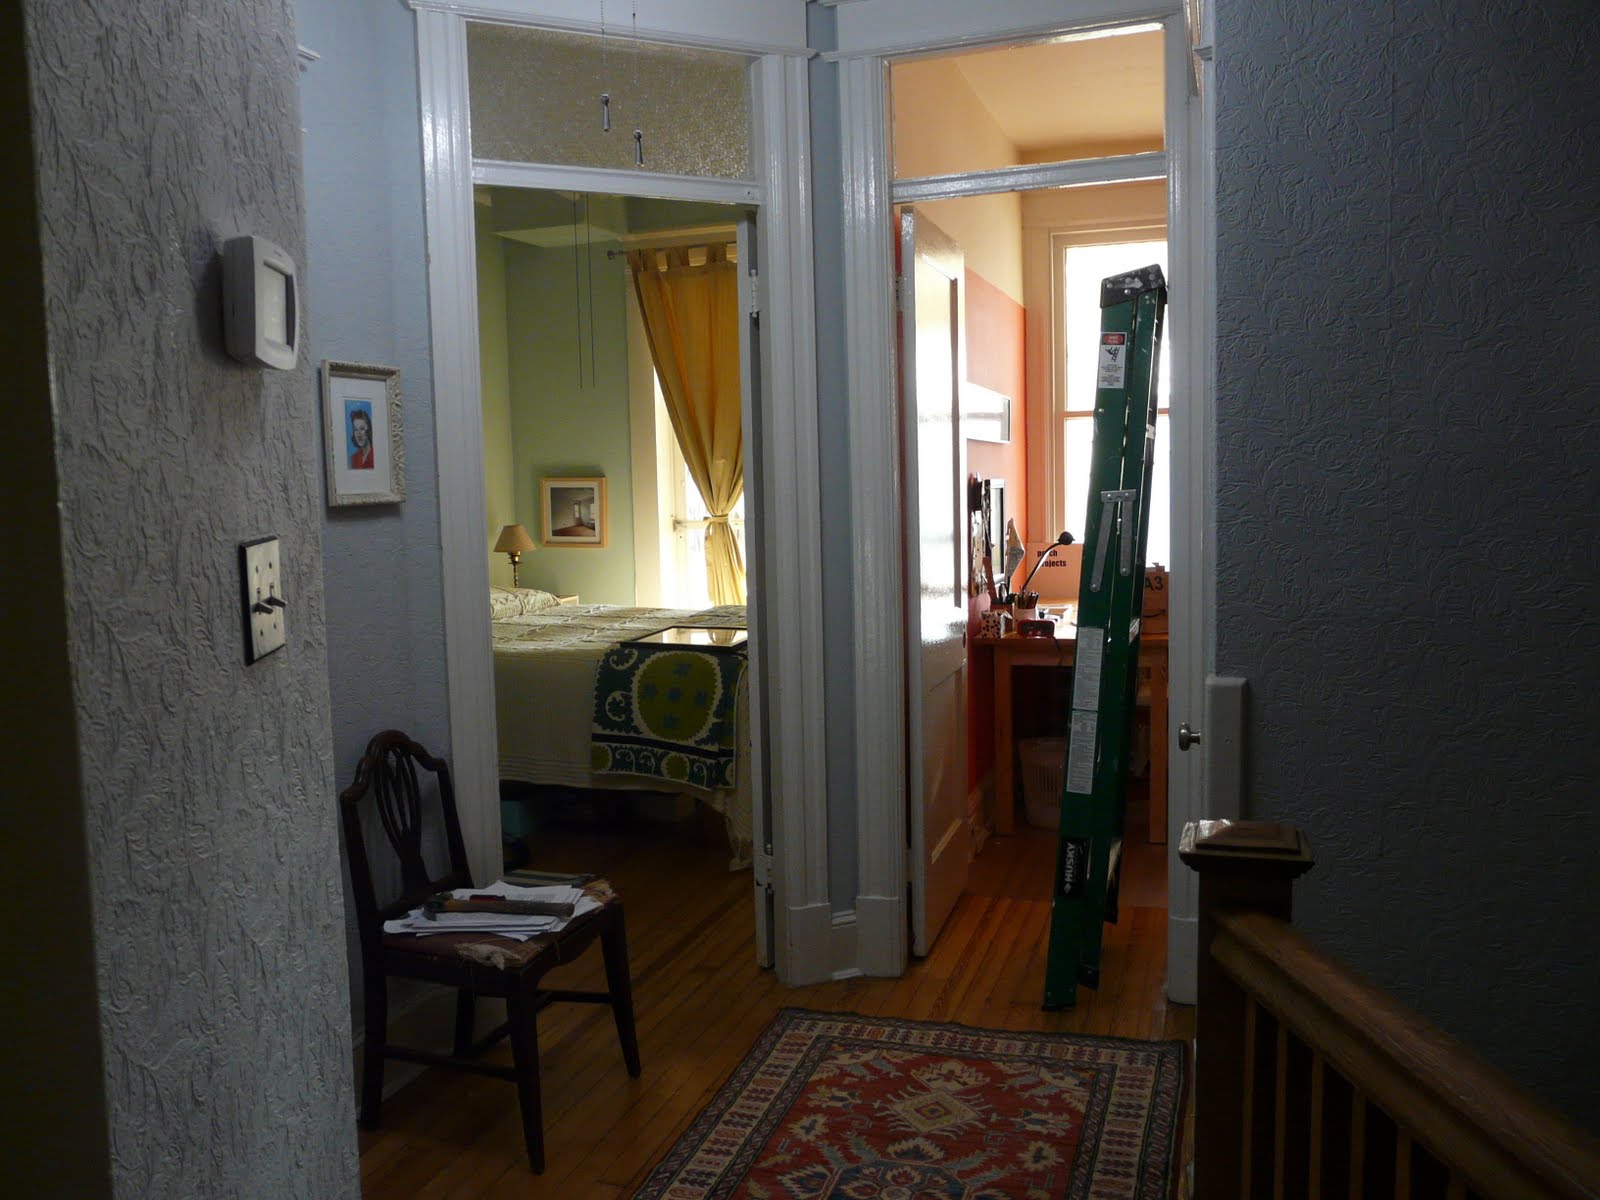
On Sunday we partially removed the satellite dish. On Monday, today (and finishing up tomorrow, with luck), I've been painting the landing at the top of our stairs. This is one of the last "easy" projects left in The Ear!

Setting up:


Ceiling done on Monday (Martha Stewart Glass of Milk, as usual):


First coat of wall paint done (Martha Stewart Driftwood Gray for continuity with the entryway below). As I did with the dining room, I'm keeping the wallpaper and just giving it a fresh coat of better-looking paint.


Friday, April 22, 2011

Dining Room, Now with Color

One of the last spots in the house left to improve, that I could work on without hiring professionals or buying more equipment, was the dining room. I have cogitated on what to do with the dining room for a few months. Options I have considered are: stripping the wallpaper and reapplying new wallpaper, painting a pattern on the bare walls with a stencil, continuing the green from the living room into the dining room, painting the walls the gray from the entryway. I was really leaning towards this last option after seeing how great the gray looked with the wood and brick in the entryway.

But one thing I hadn't considered doing was leaving up the current textured wallpaper and giving it a fresh coat of paint. I mean, it's clear by now that I hate all things textured wallpaper, right? However, that textured paper in the dining room, with its swirly floral pattern, had begun to look more attractive after getting rid of all the texture in the rest of the house. We'd even gotten several compliments on it over the past few months. So I thought and rethought and finally decided to give it a try.

Here was the dining room this past Tuesday, after clearing out most of the furniture. It had that same dirty cream color that the rest of the house had when we moved in.


Here's my test swatch of the gray paint (Martha Stewart's Driftwood Gray in flat finish) on the old wallpaper. Since I have not painted the wallpaper before, I wanted to try out whether or not I would need a coat of primer underneath. Since the paper already had a coat or two of flat paint on it, I discovered that I could skip the primer step. (I also painted the dining room ceiling in the same Martha Stewart Glass of Milk white that I have used elsewhere. Once again, taking this step helps diminish the visual presence of the textured ceiling and makes everything seem fresh and clean.)


And here's the dining room on Thursday evening. The room isn't totally put back together yet, but it already feels more polished and considered. The new coat of paint makes the pattern of the paper more subtle, perhaps because the color is darker and the flat paint doesn't reflect any light. It has become an interesting detail instead of an overbearing focal point.


Here's a close up of the freshly painted wallpaper.


Another look at the new dining room. Now I just need to work on lowering and centering the light fixture, and I think we can call this room done. One more line scratched off my to-do list. Hurrah!