Showing posts with label entryway. Show all posts

Sunday, May 15, 2011

OMG, CRAZIEST project EVER (so far): Part 5

After I caulked the medallion to the ceiling, I removed the fixture (I had to leave it in place during the caulking for spacing and support) and painted the medallion and caulk to match the ceiling (Martha Stewart Glass of Milk in flat). I suppose it's a little more ornate than I might have chosen, but the acanthus leaf design is similar in shape to the scallop shell pattern on the glass globe of the light fixture. Whatever works!


In a few hours, my paint (2 coats) had dried, and I finally installed my light. Behold what 5 days of fiddling around (on a project that should have taken 5 hours) will get you:


For reference, here's what the foyer looked like before this change:


Pretty good, right? I *think* it was worth all the effort.


OMG, CRAZIEST project EVER (so far): Part 4

Before Blogger was down for a few days, I was recounting the week-long process of installing a new light fixture in the foyer. When we left off, I had removed the old one, discovered some interesting remnants of an old gas lighting system, and was trying to figure out how to close the gap between the ceiling and the new fixture.

After trying a few homemade fixes to fill the gap (such as cutting up and painting the metal shade of a clamp light from my studio) and having them fail miserably, I went to Home Depot to take a look at ceiling medallions. These are plastic reproductions of things that used to be made from plaster; you can use them to conceal ceiling damage around a light fixture and paint them to match the surface they are installed on. I also picked up a few other round things to play around with, like a toilet flange. Here's a test:


Hmm, don't know about that flange...it fills in some more of the gap, but it looks pretty strange next to the more ornate flourishes on the medallion. Here's another set-up, this time with just the medallion. Here I have managed to arrange the parts so that the medallion is balanced on the screws that hold the fixture to its bracket; this positions the medallion to be mid-way between the ceiling and fixture. But how to stick it to the ceiling?


How indeed? Painter's caulk, of course! I slathered it on in layers to build up a little wall between the medallion and ceiling.

I improvised funny little balancing structures as I worked, such as this pencil wedged between the medallion and light fixture. Otherwise, it was a lot like frosting a cake or building a coil pot from clay. Art skills in action!


Wednesday, May 11, 2011

OMG, CRAZIEST project EVER (so far): Part 3

Okay, so there're these wires and pipe sticking out of my ceiling.


After a little Googling (like this), I decided that the pipe was likely part of a long-gone gas lighting system. And I guess because it was up in the ceiling and difficult to fully remove, previous residents of The Ear just decided to incorporate it into their contemporary lighting needs. Hence the little threaded bit on the end, which was holding up the previous light.

Looking up into the hole, I could see why there was no junction box to attach a light to: the pipe was in the way. The wires were coming out of a ribbed metal tube attached to the floor joists and were spliced onto the lamp wire from the old fixture (which I had to cut).


Well, it looked weird, but I figured I could just attach my new light in the same manner as the old one, by screwing my mounting bracket to the old gas line. One problem though:


The gas line stuck out farther than my fixture was deep. Hence the plastered-to-the-ceiling canopy of the previous fixture. I set about looking for a fix, cutting up all manner of round things.

OMG, CRAZIEST project EVER (so far): Part 2

So after obsessing for months about what kind of light to get for our entryway, I was ready to remove the old one (after cutting off the power at the circuit breaker!). I knew there was something a little fishy about it, based on the canopy by the ceiling. Check out the protruding, painted over rim around the top, and the punctured hole through which the lamp wire feeds into the light. Not the usual order of things.


To get the light down, I had to cut its wire and grounding wire. The twisting motion of the nut and chain created too much tension in the off-center cord to do anything else. So once I got the fixture and the canopy down, I found:


Another canopy! Wha? Not only did this one appear to be plastered/painted to the ceiling, but it also sported the same puncture hole for the lamp wire, plus a....bit of threaded pipe? Protruding from....some sort of black metal thing? The whole contraption, though unusual looking, was very well affixed to the ceiling. I whacked it with my hammer a few times, to no avail. I resorted to ripping it apart with pliers.


The second canopy, freed from its moorings. Look at all that goop that was holding it to the ceiling!


And underneath it all.....what the hell? A hole in the ceiling with wires dangling out, no junction box, plus a large metal pipe, going up into the innards of the house, out of sight. What now? Told y'all this would get crazy.

OMG, CRAZIEST project EVER (so far): Part 1

Some of you may be familiar with this paragon of beauty:


For those who haven't been playing along at home, I'll fill you in. This is the light fixture that was in our foyer/entryway when we bought The Ear. Its 70's-80's, Western-lodge aesthetics, plus missing glass globes and glare-y light weren't really doing it for us. When we moved in last April, I felt sure that its days were numbered. However, I totally underestimated my ability to become focused on other projects and overestimated my ability to be decisive about purchasing a new fixture. So a year later, this "chandelier" is still with us.

Until recently, that is. A few weeks ago Mr. MJ and I were up in Baltimore for some art shows, and we stopped into Second Chance salvage superstore on a whim. We found these lovely ceiling fixtures by Rejuvenation (normally beyond the budget) on super sale, and I got to work coating their brushed brass bases with my trusty Rustoleum paint (saver of ceiling fans, plastic switch plates, etc. etc.).


My willingness to wait for the right thing at the right price paid off...a year later. So where is the craziness, you may be wondering? Well, ask and it shall be given, starting with Part 2.

Tuesday, February 15, 2011

Porch Projects: House Numbers

Things have been a little quiet around The Ear over the past month; more art than house sprucing has been happening lately (like this, for instance). However, today I accomplished something small but beautiful: I painted our house numbers in our front transom window, where they belong.

Here is what our front door and porch looked like this morning:


You can barely see the black metal house numbers to the left of the door, since they blend right in to the dirty brick. You can, however, see the taped up pieces of paper, with our address printed on them, in the transom window. I used one of these as a guide for painting my numbers.


I used gold and black paint pens for this project. The Capitol Hill Restoration Society says that numbers painted in transoms should be in gold, in a serif font, and have a black outline or shadow.


So, I taped my printed-out guide to the outside of the window and traced the numbers on the inside of the glass with my paint pens. In this image I am almost done with the work, but you can see the print out behind the paint.


Here's the front doorway now. Much nicer and easier to find, don't you think? Now I need to remove the old numbers. Add it to the list.


Thanks to fellow DC house blog Row House for the idea for this project! Until I ran across this post, I thought I was going to have to use ugly vinyl decals. The power of the Internet...

Tuesday, January 18, 2011

Entryway: All Back Together

Over the long weekend we finally got all our doo-dads put back where they belong, so we have a well appointed and organized front entry hall again.


I am still enjoying the way the gray paint we chose compliments both the yellow toned woodwork and the red exposed brick. I wasn't sure it would be possible to find a paint color that would do both. So, when in doubt, go with a neutral gray; it will probably look okay.


We are using my grandparents' old mailbox as a holder for wallets, phones, keys, and gloves. The double lamp with the eagle on top was theirs as well. I read somewhere that brass may be making a comeback for interior fittings. If so, I'm prepared.


Saturday, January 1, 2011

New Year, New Entry Hall

A few days ago, we had the primer down:


Today, New Year's Day, we have a Glass of Milk ceiling and Driftwood Gray walls (both Martha Stewart):


The change in this room exceeds my expectations, especially considering that this is the same gray I painted over in the bathroom. I love how it complements the reddish brick and the yellowish wood trim. It's nice to start the new year with a fresh outlook. Cheers!

Wednesday, December 29, 2010

What Not To Do

Don't paint your textured ceiling with glossy paint. (Also, don't texture your ceiling.)


Don't hang your ugly light fixture off of a remnant of your old one (which you have textured and painted to the ceiling). You will have to poke a hole in its canopy, rather than wiring it correctly. Not the best plan.

Things We Are Thinking About Now...

Thursday, December 16, 2010

Entryway: Scraped Clean

As of yesterday, this was our entryway:


The wallpaper and mildew are gone. The holes and rough places are patched. Paint and primer are next, but those may have to wait til after Christmas. Even with the wait, we've still got a fresh outlook on coming and going.

Thursday, December 9, 2010

Back in the Scrape of Things

After a two-month hiatus, I'm back to scraping wallpaper this week. I've been working on our entryway, which has so far been underwhelming as a vision statement/aesthetic experience.

Here it was on Monday. Note the shiny, shiny texture (texture!) and beautiful light fixture (why that is still here, I do not know):


As of this morning, however, the shiny, shiny texture had gone missing. I'm left with a lot of clean up and a few plaster blemishes to patch.


Also a big mildew colony prospering by the front door. Eew.

Wednesday, May 5, 2010

Getting There...

This weekend we made some progress on the entryway. After some antiquing outside Leesburg (this place has great stuff and prices) and some Craig's List shopping, we've got a mirror to check our teeth for food bits before we leave and a coat tree to dump our coats and bags on when we arrive back home.


Also note my granny's old sewing machine serving as a catch-all table and the little chest (made by my granddad for my grandmother's vacuum cleaner) serving as a place to take off and store shoes. Now if we could just do something about that light fixture, we'd be in business.

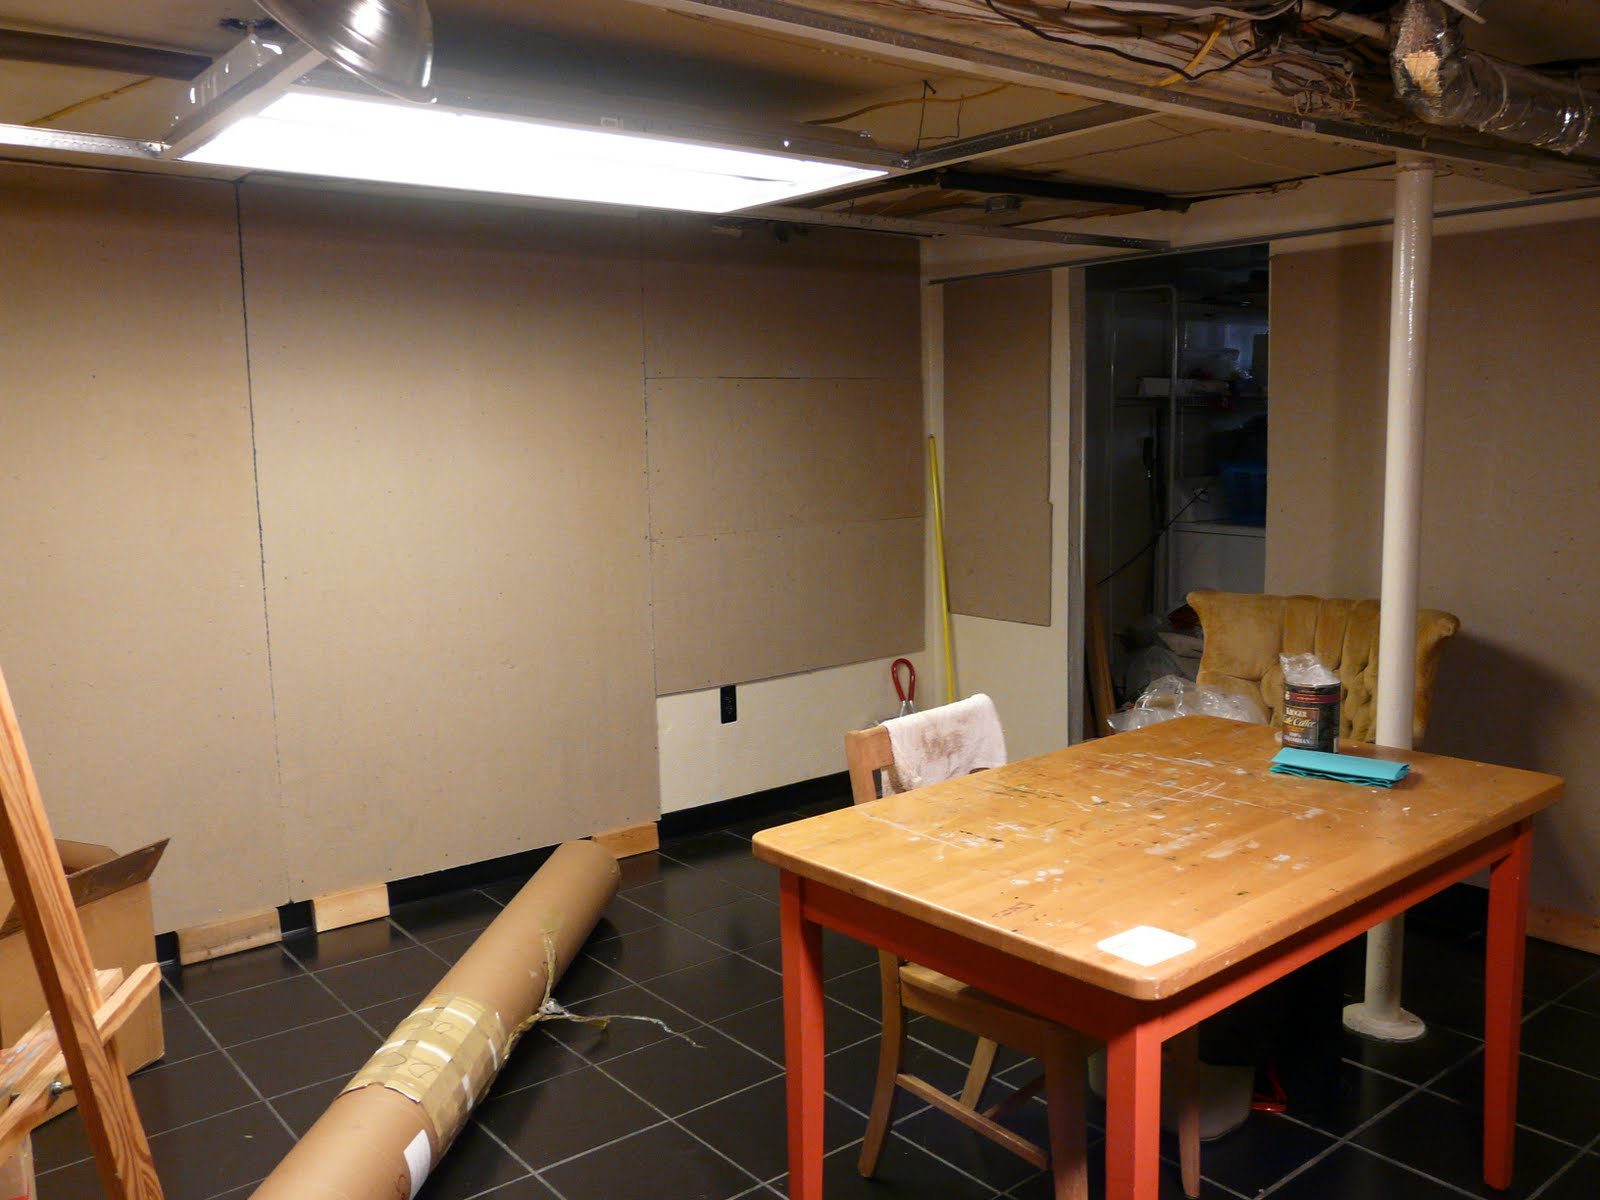
We also broke out the circular saw and made some headway in the studio. We lined the walls with homosote, which is usually used as a sound proofing and insulation material. For an artist, it makes a nice smooth, soft surface to take up drawings and paintings while I work. Today I'm cleaning up and painting. Almost in business down there too.