Showing posts with label demolition. Show all posts

Wednesday, July 3, 2013

Bathroom Boogaloo, Day 1

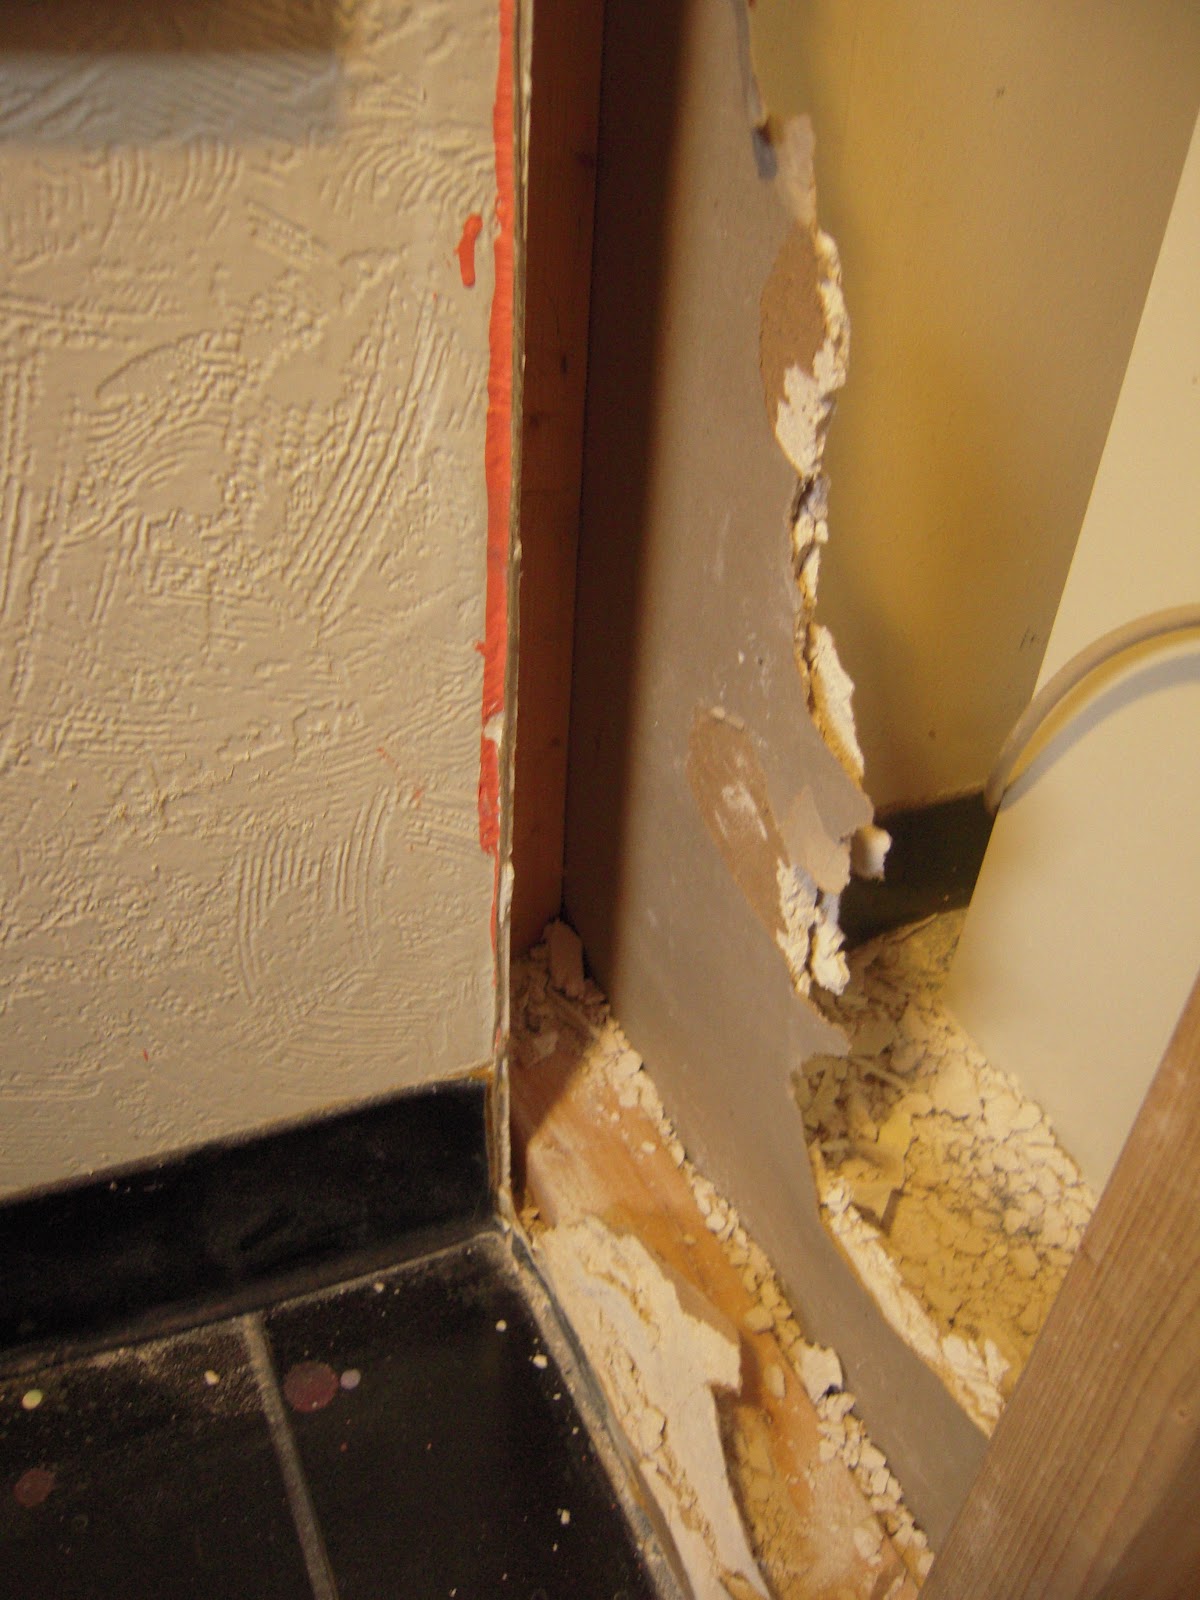
The professionals started work today.  First, they demo'ed.  Here's what it looked like at lunch time:


At the end of the day, we were left with a tidy work area and a preliminary layout of the space.  The three blue squares at the back represent the washer and dryer (under window) and sink (against long wall).  The sponge represents the toilet, the small wood rectangle is the storage closet, and the larger square at the bottom of the picture is the shower stall.


Here's to auspicious beginnings!

Tuesday, July 10, 2012

From a Basement on the Hill: More on the Floor

 We celebrated the 4th of July by declaring our independence from vinyl tile...at least in the basement.

There were two layers of vinyl tile on the floor in the back half of the basement: one self-stick (visible in the garbage bag below), one old VCT (same stuff we had installed in our kitchen, but much less beautiful, shown in the second photo).


Because we did not know the age of this flooring, we knew we needed to remove it with care because of the possibility of asbestos.  After some research, we determined that if we kept the tiles intact, did not sand, and worked in a damp environment with ventilation, we would be okay.

So, we filled our utility sink with hot water, soaked some old towels in it, and laid those out on the floor as we worked with putty knives and a flooring shovel to lift the tiles.  The heat and moisture from the wet towels was very, very effective at loosening the vinyl adhesive (which perhaps had loosened from age and wear as well).  Less than five hours later, we had a bare floor and 6 garbage bags full of trash.


The next day, I thoroughly vacuumed, wet mopped, and vacuumed the bare concrete.  Then I painted. (Behr Porch & Floor Paint in silver gray, low sheen finish.)

Here you can see the results of two coats of floor paint (minus a few spots where big furniture was in the way -- those will get touched up later), plus scraping the paint of the windows.  


I painted the stairwell between the basement and kitchen as well.  I used leftover yellow paint from our kitchen bead board.


Now for some electrical work...the professionals are scheduled to be here in a couple of days.  The end is drawing nigh! 

Monday, June 11, 2012

From a Basement on the Hill: Demolition, Days 7 & 8

Last Thursday, the basement went from a floor 50% covered in this:


to this:


In about 3 hours, we took up 225 square feet of ceramic tile.  It was much easier than my previous efforts in this arena.

And today, my back yard went from this:


to this:


Three cheers for Kyle at Reliable Hauling!  Now on with the cleaning and preparing for paint.

Wednesday, June 6, 2012

From a Basement on the Hill: Demolition, Day 6

 Today we finished freeing the basement stairs from their plywood box.  Quite a mess of scraps and ramshackle supports awaited us under the first layer of plywood.

A few hours later, the whole thing was uncovered to reveal the Ear's original open basement stairs.


We also finished taking down the ceiling and did some general cleaning-up-after-ourselves.


Trash bag count is at either 25 or 26.  Most of them are camped out in the back yard under plastic sheeting.  Beautiful, isn't it?


From a Basement on a Hill: Demolition, Day 5

Yesterday was such a whirlwind day of work that I failed to write a post!  So here is a round up of Day 5, late.

We started work tearing down the wall blocking the windows in the front of the house.


Though ugly, it was a well built wall, with plenty of framing support and sharp corners created with the metal trim (which is really hard to rip off).


We got one window uncovered, only to discover that it had been painted over.  Oh well, more work to do later.  


We scraped off a little view hole.  Here is a peek at my future view.


We also discovered some more old, loose radiator pipes in the ceiling.  These things are heavy!


By the end of the day, we had totally uncovered the front brick wall of the house.  Trash bag count is at 20.  Tomorrow we open up the space under the stairs and clean up odds & ends.


Monday, June 4, 2012

From a Basement on the Hill: Demolition, Day 4

My demolition project paused for a weekend of other homemaking activities (ironing, cooking, weeding the front yard, etc.).  But today, the cavalry (also known as my mother) came to town, and we got one whole wall dismantled!

We continued our work on the wall dividing the space in two, and continued our efforts onto the wall under the stairs.  At times we resorted to knocking holes in the drywall with a hammer (see my hammer holes in a row below), then pulling it apart.

The real hard part was disassembling the wood framing, which we did by any means available (hammers, mallets, pry bars, hard headedness).


But by the end of the day, what had once been two spaces were united as one.  (It may be a little hard to see in these pictures, but the bright rectangle in the middle is the open back door (!), the plastic area to the left of the door is the laundry, and the large gray patch is a second wall (?) blocking off the area under the stairs.  The silver tube hanging down is the HVAC duct.)


Tomorrow we'll get started on the wall blocking up the front windows.  Our trash bag count is 18+.

Thursday, May 31, 2012

From a Basement on the Hill: Demolition, Day 3

Yesterday I felt that I got to a good stopping point on the ceiling, so today I decided to take a swing (literally) at the walls.  I started on the wall that divides the space in two (the one painted orangey-hot pink).  It was very slow work, and harder than I expected.


This dividing wall was built between two other walls, which are not aligned with the brick wall of the house in the same way (the basement's back room has drywall right up against the brick; the front room's walls are 8-10" out from the brick.  Weird.)  Here you can kind of see the gap.


I was mostly using my hands, feet, and occasional hammer blows to push, pull, and kick the drywall apart.  


After three hours of work, I accomplished....not much.  But it's a start!


Wednesday, May 30, 2012

From a Basement on the Hill: Demolition, Day 2

Today I continued pulling down the ceiling. It's a bit hard to see in these photos (taking pictures of the ceiling is harder than I imagined), but I've got about 3/4 of it off. I've also got 12 contractor bags full of broken up drywall.
I am going to stop here on the ceiling for now, since what is left is over the "clean" laundry area. Tomorrow I will move on to other aspects of the project.

Tuesday, May 29, 2012

From a Basement on the Hill: Demolition, Day 1

Today I began working on making my basement studio better, starting with tearing down the ceiling, like so:
Before beginning the demolition, I covered all unmovable objects and doorways with plastic to keep as much dust as possible out of the rest of the house.
I even encased our laundry area in plastic, so we can have a clean place to wash clothes for at least a bit longer. (This reminds me of the scenes in E.T. where the scientists cover the house in plastic to create a sterile lab environment. I'm not sure anyone would learn much from our laundry though.) I used two layers of plastic to create a flap-like entry into the laundry area. In this picture, look for the L-shaped line of tape on the right of the plastic sheet: that's the door. I did this for the stairs up to the kitchen too. It's a trick I learned from my time working in museums.
By the time I quit working today, I had pulled down most of the old drywall ceiling in the front room of the basement (roughly a 20'x15' room). What I've learned: this is fairly easy, though very dirty, work. Some kind of dust mask and eye protection are absolutely necessary (despite the videos of fools doing demo work on Youtube). A head covering would be a wise addition to one's work attire as well. You need to have a couple different sizes of pry bars and a good solid hammer to work with. I have filled up 7 large contractor trash bags with old drywall so far.
Bonus find: Washington Post from September 22, 1960. It was too crumpled and dry to read much, but I did learn that a site in Virginia was chosen for a Nixon rally, and a used 1955 Buick was not hard to come by. Makes me wonder more about former denizens of the Ear.

Monday, January 2, 2012

Kitchen Conundrum: End of Day 1

The professionals were here from about 9 am to 5 pm. They picked up our slack (disconnecting the gas line from our stove and ripping up the plywood underlayment of our former floor, both tasks we failed at miserably). They also demo-ed the old sink's waste pipe, installed a new one, cut some new underlayment, and started the electrical work.


Meanwhile, our activities are condensed to one room, like so:


Thursday, December 29, 2011

Kitchen Conundrum: More Floor

I got a lot more of the old ceramic floor tile taken up today:


The only tiles left are those under the stove and refrigerator. Moving those ought to be fun.

Here's some other stuff we've procured:

A super beautiful faucet


A salvaged cast iron sink, barely used, from Craig's List (only $25!)

Monday, December 19, 2011

Kitchen Conundrum: From the Ground Up

We've been hacking away at the green ceramic tile on the floor: an hour here, an afternoon there. Slowly and steadily we are getting it pulled up.


I also decided to try to get up a bit of the plywood underlayment to take a peek underneath (there was a small square section next to the dining room, so I thought that would be an easy place to start.

I pulled out a variety of very long nails and screws (really wish they hadn't used screws. this would be so much easier!).


Then I worked around the perimeter with my two pry bars.


And low and behold.....


What the...? Wood floor! Hmm, now what? Our plan was to do a colorful checkboard pattern with vinyl composition tile. May have to rethink that...

And no, the comedy gold is not lost on me that dark green faux-marble-pattern vinyl stick-on tiles were covered with dark green faux-marble-pattern ceramic tiles. Brilliant work all 'round.