Showing posts with label really big stuff. Show all posts

Wednesday, July 3, 2013

Bathroom Boogaloo, Day 1

The professionals started work today.  First, they demo'ed.  Here's what it looked like at lunch time:


At the end of the day, we were left with a tidy work area and a preliminary layout of the space.  The three blue squares at the back represent the washer and dryer (under window) and sink (against long wall).  The sponge represents the toilet, the small wood rectangle is the storage closet, and the larger square at the bottom of the picture is the shower stall.


Here's to auspicious beginnings!

Monday, July 1, 2013

Basement Redo Part 2, Electric Boogaloo

Last summer I demo-ed our basement (with help from mom!) and made myself a big, beautiful studio.  This summer, we are turning the laundry area of that basement into a second bathroom! (one of the very very big projects mentioned in the last post)

Work is supposed to start tomorrow, when the professionals will show up and most likely start jack hammering up the concrete floor (sorry neighbors!).  We've spent the past couple of weeks cleaning out and cleaning up the basement, protecting everything we couldn't move, and washing everything that was the least bit dirty.

Here's the basement ready to go:

All my studio furniture under wraps.  I wonder if this might be a viable sculpture form?
The new bathroom will go on the left side of this picture, where you see the laundry area now.
Mr. MJ's sister, a hard-working architect, helped us with the floor plan and design of the new space.  It will be a combination bathroom/laundry room.  The washer and dryer will be repositioned under the window (with a better vent for the dryer!), and a shower stall and toilet will be added.  A small storage closet will open into the studio (appears in plan next to the toilet) for all my tools, leftover house paint, etc.


Style-wise, the bathroom will be bright and utilitarian, with white subway tile and a big service sink, because it will still serve as a place for me to clean up art materials and wash other dirty stuff.  

We have debated the merits of a project like this for three years, since we bought this house.  We could tell from the recent house sales that adding a second bathroom would be the biggest thing we could do to add value to our home.  However, the combination of the expense of the project and the just-fine-ness of our current setup have always made us decide against taking this step.  Until now!

Tuesday, January 17, 2012

Kitchen Conundrum: Another Weekend, Part 2

When we decided to use beadboard panelling, we first thought we'd just do the backsplash area. But when we realized we could benefit from a lot more color in the kitchen, we decided to extend the panelling all the way around the room.

After cutting the panels down to size and painting them, we began installing them on the wall using construction adhesive and finishing nails.


Construction adhesive on the wall:


Panelling going up on the wall that will be behind the refrigerator (hence the bits-and-pieces approach -- it won't be too visible). Note our inept cutouts for the electrical outlets (we got better at this part).


Backsplash in place:


Finished panelling, with seems caulked and awaiting paint touch-ups and trim:


Cheerful, sunny, and bright!

Kitchen Conundrum: Another Weekend, Part 1

We began this past weekend with a Saturday morning trip to the Despot, where we purchased four 4'x8' sheets of beadboard panelling, 12' of trim, related supplies, and paint. We also rented a pickup truck to get it all home. Several hours later, our back porch was a cold but functional wood shop.


We cut and trimmed the large sheets of beadboard down to fit in the gaps around our kitchen. My coat became a sawdust magnet. At least it's washable.


Our yellow paint. We chose Martha Stewart's Haystack; Martha Stewart colors are now being mixed with Glidden bases. Seems to work okay.


By the time Sunday evening rolled around, we had two coats of paint on our panelling pieces.

Friday, January 6, 2012

Kitchen Conundrum: End of Day 5, Almost!

The Professionals showed up early, stayed late, and didn't take a lunch break (hence no lunchtime post). They worked really hard and came really close to finishing. Even though they didn't quite make it, the results are amazing!


Check out the wood countertops!


Pantry area, now with its own outlet:


Lovely salvaged sink with $$ lovely faucet (plus matching white filtered water faucet):


The Professionals got creative with the long piece of baseboard they removed, chopping it up to fill in the blanks. I think they did a great job fitting these bits and pieces together:


Hardwired under cabinet lights!


Beautiful view:


Next up: prime'n'paint.

Thursday, January 5, 2012

Kitchen Conundrum: Day 4, Lunchtime

So, these photos were taken a couple of hours ago, but at that time, the Professionals had made real progress on the cabinets. At this point, mid afternoon, all but one is in, and they are doing some more electrical work.


Here's one area of additional cabinets. In the corner you can see our tall pantry cabinet. The Professionals had a bit of a trial getting it into and upright in the kitchen (it's one whole piece, came shipped that way), but it looks great. Can't wait to fill it up with groceries.


Here's the channel they drilled in the wall for the new microwave wiring (getting its own circuit, hurrah!).

Tuesday, January 3, 2012

Kitchen Conundrum: Lunchtime, Day 2

The professionals take a lunch break about 1 pm. Here's what it looked like today when they stopped:


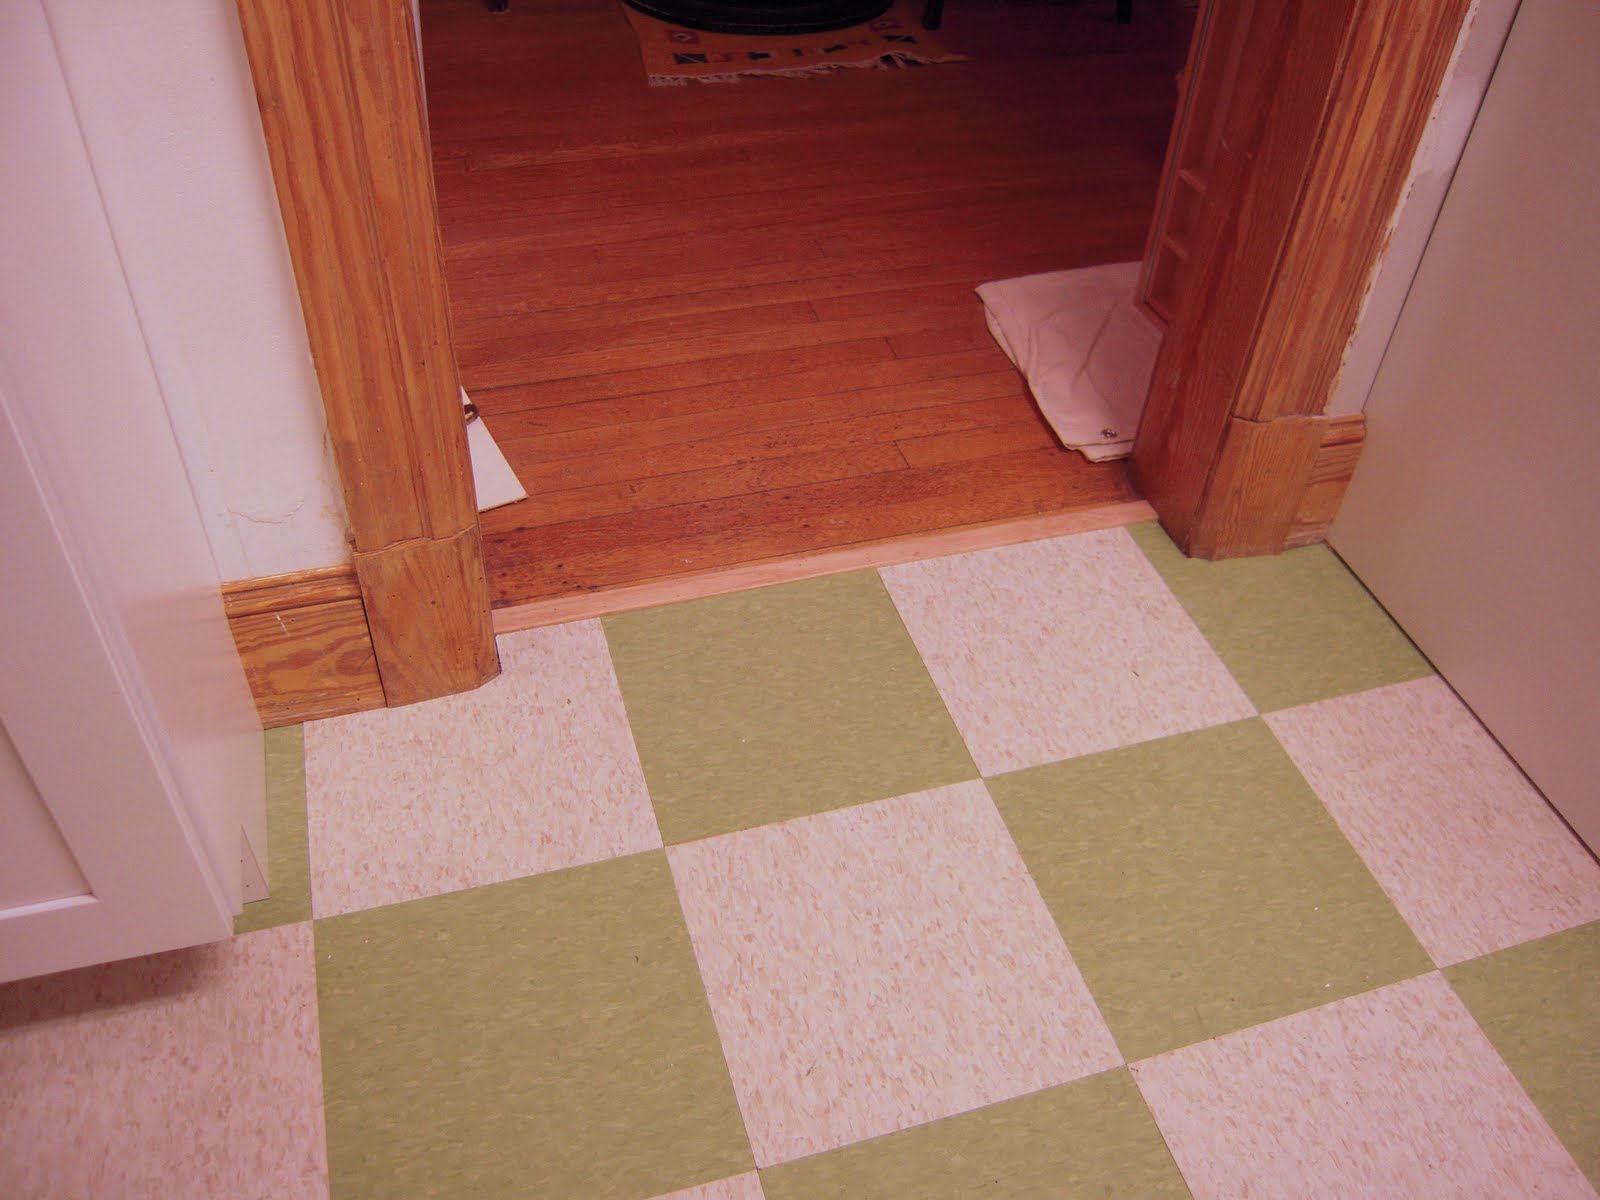
Look at that beautiful floor! I almost want to just keep the plywood. Instead, we're going with a green & cream checkboard, per the original plan (decided not to refinish the wood -- added too much time, trouble, and $ to the project):


Also, all the appliances have arrived. Not much room left in the hold pen, er, living room.

Monday, January 2, 2012

Kitchen Conundrum: End of Day 1

The professionals were here from about 9 am to 5 pm. They picked up our slack (disconnecting the gas line from our stove and ripping up the plywood underlayment of our former floor, both tasks we failed at miserably). They also demo-ed the old sink's waste pipe, installed a new one, cut some new underlayment, and started the electrical work.


Meanwhile, our activities are condensed to one room, like so:


Kitchen Conundrum: Professionals...

...got started this morning at 8:30. Lots of very loud noises ensued. Sorry neighbors!

Thursday, December 29, 2011

Kitchen Conundrum: Cabinets & Layout

Yesterday, this happened:


Our cabinets arrived (and our contractor and his crew are starting Monday!). But how did we get to this point? I'll back up to earlier in the fall...

I already posted photos from some recent open houses in our neighborhood that gave us some ideas about where to add storage to our kitchen: in the narrow area by the doorway to the front of the house, and behind the back door. But, both of these spots would require shallower-than-standard-depth base cabinets. Is this possible without going the custom route?

The answer is yes. Most special-order cabinet lines can be made this way, and Ikea also carries shallow-depth bases. We heard really positive things about Ikea kitchen cabinets, so we started there.

The great thing about Ikea is its transparency. You can use the online room planning tool from your home computer (for examples see the images below) to place the products where you want them. The program keeps track of exactly what you've selected and how much each layout would cost you. When you've got a layout you like, you can access your saved design at the store and a customer service rep will draw up your order. There's no mystery, no need to make an appointment, no cost-per-linear-foot prices that don't translate to the real world. You can window shop from home all you like.


So what's not to love? Like most Ikea products, these cabinets come flat packed. You, or someone you hire, has to assemble them before they are installed. I've put together a lot of Ikea furniture, so I knew I was capable. But the thought of all those boxes piled up in my living room made me tired. So, just to make an educated decision, we looked at other cabinet vendors, including the Despot, Lowes, and an online wholesaler (these require making an appointment and having someone else walk you through the layout process you may have already done at Ikea...a little slow and frustrating if you already know what you want, but them's the breaks of kitchen remodeling).

We discovered that mass market cabinets are mostly made by a handful of companies (despite being branded differently) that have a constantly rotating set of deals and incentives going to help move their products (free sink base with order! free finish upgrade with order! free sink with countertop order!). Ikea, on the other hand, relies on your labor to keep costs low.

Ultimately, because of a combination of manufacturer and store discounts, we placed an order for American Woodmark cabinets from Home Depot. The price was good, and the kitchen designer we worked with (as opposed to some of the others we encountered) actually listened to our ideas instead of telling us why they wouldn't work. Also, he did not try to upsell or rush us. Our order was only about $400 more than our Ikea design, and I thought $400 was a good trade for not having a mountain of boxes staring me down with only an allen wrench to scale it with.

What we ordered: American Woodmark cabinets with Reading doors (these are wood, Shaker-style), Maple Linen finish (a white painted finish, one of those freebie add-ons that ordinarily would have cost $600 or more) with brown-black knobs and drawer pulls (another freebie). Yes, the boxes of these cabinets are MDF. But so are Ikea cabinets, and so are the 20+-year-old cabinets we're in the process of deinstalling. I'm not too worried.

Edited to add: Originally, we were interested in using salvaged cabinets. Doing so can be more eco friendly and wallet friendly than new stuff. But, we quickly realized that because of our small space, exacting dimensions, and lack of expert carpentry skills, this probably wasn't the best choice for this project. I think if you have a more open or flexible plan, salvaged cabinets can be a great way to go (if you can wait patiently for the right set to come along).

Monday, December 19, 2011

Kitchen Conundrum: From the Ground Up

We've been hacking away at the green ceramic tile on the floor: an hour here, an afternoon there. Slowly and steadily we are getting it pulled up.


I also decided to try to get up a bit of the plywood underlayment to take a peek underneath (there was a small square section next to the dining room, so I thought that would be an easy place to start.

I pulled out a variety of very long nails and screws (really wish they hadn't used screws. this would be so much easier!).


Then I worked around the perimeter with my two pry bars.


And low and behold.....


What the...? Wood floor! Hmm, now what? Our plan was to do a colorful checkboard pattern with vinyl composition tile. May have to rethink that...

And no, the comedy gold is not lost on me that dark green faux-marble-pattern vinyl stick-on tiles were covered with dark green faux-marble-pattern ceramic tiles. Brilliant work all 'round.

Sunday, December 18, 2011

Kitchen Conundrum: It's Coming Down

We had a limited amount of time for actual demolition work today (we had to focus on kitchen-related things, like shifting furniture, clearing out spaces, and finding a way to throw out all the heavy, heavy tile we've been chipping off our walls and floor). So, we decided to tackle something that would make a big impact: cabinet removal!

Here's where we started:


Removing the microwave was pretty easy. It was bolted to the upper cabinet in two places, and bracketed to the wall in the back. No biggie.


The cabinets themselves were another story. The electrical outlet powering the microwave is in a sorry state and had been attached to the upper cabinet itself rather than the wall. So, we had to cut out part of the cabinet backing around it with a utility knife.


We also discovered that the cabinets were bolted together, then veneered together (!), then glued as well as screwed to the wall. Our pry bars came in handy here, as did our puzzle-solving skills as we shifted ladders, appliances, tools, and human bodies around to accommodate our work. Here's one cabinet down and ready to go outside:


And at the end of 2.5 hours, we were left with this:


Hurrah!

Thursday, December 15, 2011

Kitchen Conundrum: Au revoir!

While I've been rehashing our re-imagining and design process from the past few months, a lot of actual action has been happening in the kitchen. Here's a last look at our old kitchen situation. I made this little video sometime before Thanksgiving, 2011.

Wednesday, November 30, 2011

Kitchen Conundrum: Prologue

Our kitchen is not beautiful, and it's not terribly functional either. When we moved into The Ear in April 2010, we cleaned the space well and did what we could to make it a bit easier to use (removing an oddly placed breakfast bar, adding under-cabinet lights, a kitchen cart, and an antique pie safe). We knew these fixes were temporary: our house inspector told us that all the appliances were 20 years old or more, and that eventually one of them would fail. We also knew that we needed more storage and that the dark tile and dingy laminate cabinets tended to emphasize the room's smallness.

Over the past year and a half, we have noticed other, less obvious (to our untrained, first-time-homebuyer eyes) shortcomings. The microwave occasionally burns things up and heats unevenly. The dishwasher sometimes leaves a filmy residue on the dishes. The sink and disposal leak and need to have a plastic tub under them at all times. The two work surfaces are directly opposite each other and are separated by less than 3 feet (good thing we are small people). The upper cabinets are hung several inches higher than the standard place, making reaching into them hard (bad thing we are small people). The oven is slow, slow, slow to heat up, and doesn't hold it well when it's there. The laminated sides of the cabinets, doors, and countertops are peeling off and catch on our clothes as we walk past, making a nice "thwack" sound when they slap back into place. It's a sorry state of affairs.

So, after months of hemming and hawing, we are sticking our big toes into the ocean of kitchen remodeling. We have been stripping wallpaper (!), and on Monday evening we ordered new cabinets (!!). But before I tell those tales, let me back up to last Thanksgiving & Christmas. I think that's about when our real "oh s***" moment occurred, when we realized we'd have to make a big change sooner rather than later.

Ma & Pa MJ visited us last Thanksgiving, after which Ma insisted on changing our kitchen ceiling light. Upon returning home to Little Rock, they sent us an early Christmas present ($!) and insisted we buy a new dishwasher with it. (Notice the insisting. I think they found our kitchen rather disgusting after trying to prepare actual food in it.) We poured over Consumer Reports and visited every big box store within easy driving distance. We picked out a dishwasher that we were very excited about. But we noticed, just before calling a sales associate over to start the buying process, that this new dishwasher, and all the other ones next to it, looked different from our old one. Its door covered its whole front, instead of having a hinge a few inches above a kind of toe kick. (This is called "tall tub" and is now how most dishwashers are made. It allows for greater capacity.) We started to feel worried that the beautiful new dishwasher would be un-openable when installed in our tiny kitchen, so we went home to measure one last time.


When we got home, we discovered that yes! The new dishwasher door would indeed be able to open. However, we also discovered that no, we would not be getting a new dishwasher. At least, not without ripping out half our kitchen. You see, a previous denizen of The Ear (let's call him or her #%^&! for short) had decided that a new, dark green, ceramic tile floor would be fabulous with the fake wood laminate cabinets (and who am I to argue?). But when #%^&! went to install the tile and its .5" plywood underlayment, did he or she move the dishwasher? No. No, #%^&! decided to WALL IN THE DISHWASHER WITH PLYWOOD AND CERAMIC TILE. We could not remove the old dishwasher without breaking up the floor or tearing out the countertop. Those options were more than we were prepared to undertake.

So, we bought a new refrigerator (which doesn't run all the time like the old one) instead and began dreaming new kitchen dreams.