Showing posts with label electricity. Show all posts

Friday, July 27, 2012

From a Basement on the Hill: Let there be LIGHT!

So, so many lights....Behold:

studio lights!
more studio lights!

stairwell organization!
stairwell organization plus light!

back porch light!

back yard & basement door lights!

sleeping porch lights!

sleeping porch outlets!
Hurrah!   

Friday, January 6, 2012

Kitchen Conundrum: End of Day 5, Almost!

The Professionals showed up early, stayed late, and didn't take a lunch break (hence no lunchtime post). They worked really hard and came really close to finishing. Even though they didn't quite make it, the results are amazing!


Check out the wood countertops!


Pantry area, now with its own outlet:


Lovely salvaged sink with $$ lovely faucet (plus matching white filtered water faucet):


The Professionals got creative with the long piece of baseboard they removed, chopping it up to fill in the blanks. I think they did a great job fitting these bits and pieces together:


Hardwired under cabinet lights!


Beautiful view:


Next up: prime'n'paint.

Thursday, January 5, 2012

Kitchen Conundrum: Day 4, Lunchtime

So, these photos were taken a couple of hours ago, but at that time, the Professionals had made real progress on the cabinets. At this point, mid afternoon, all but one is in, and they are doing some more electrical work.


Here's one area of additional cabinets. In the corner you can see our tall pantry cabinet. The Professionals had a bit of a trial getting it into and upright in the kitchen (it's one whole piece, came shipped that way), but it looks great. Can't wait to fill it up with groceries.


Here's the channel they drilled in the wall for the new microwave wiring (getting its own circuit, hurrah!).

Tuesday, January 3, 2012

Kitchen Conundrum: End of Day 2

At the close of Day 2, the sink wall has been patched with some new drywall, and most of the new wires are in:


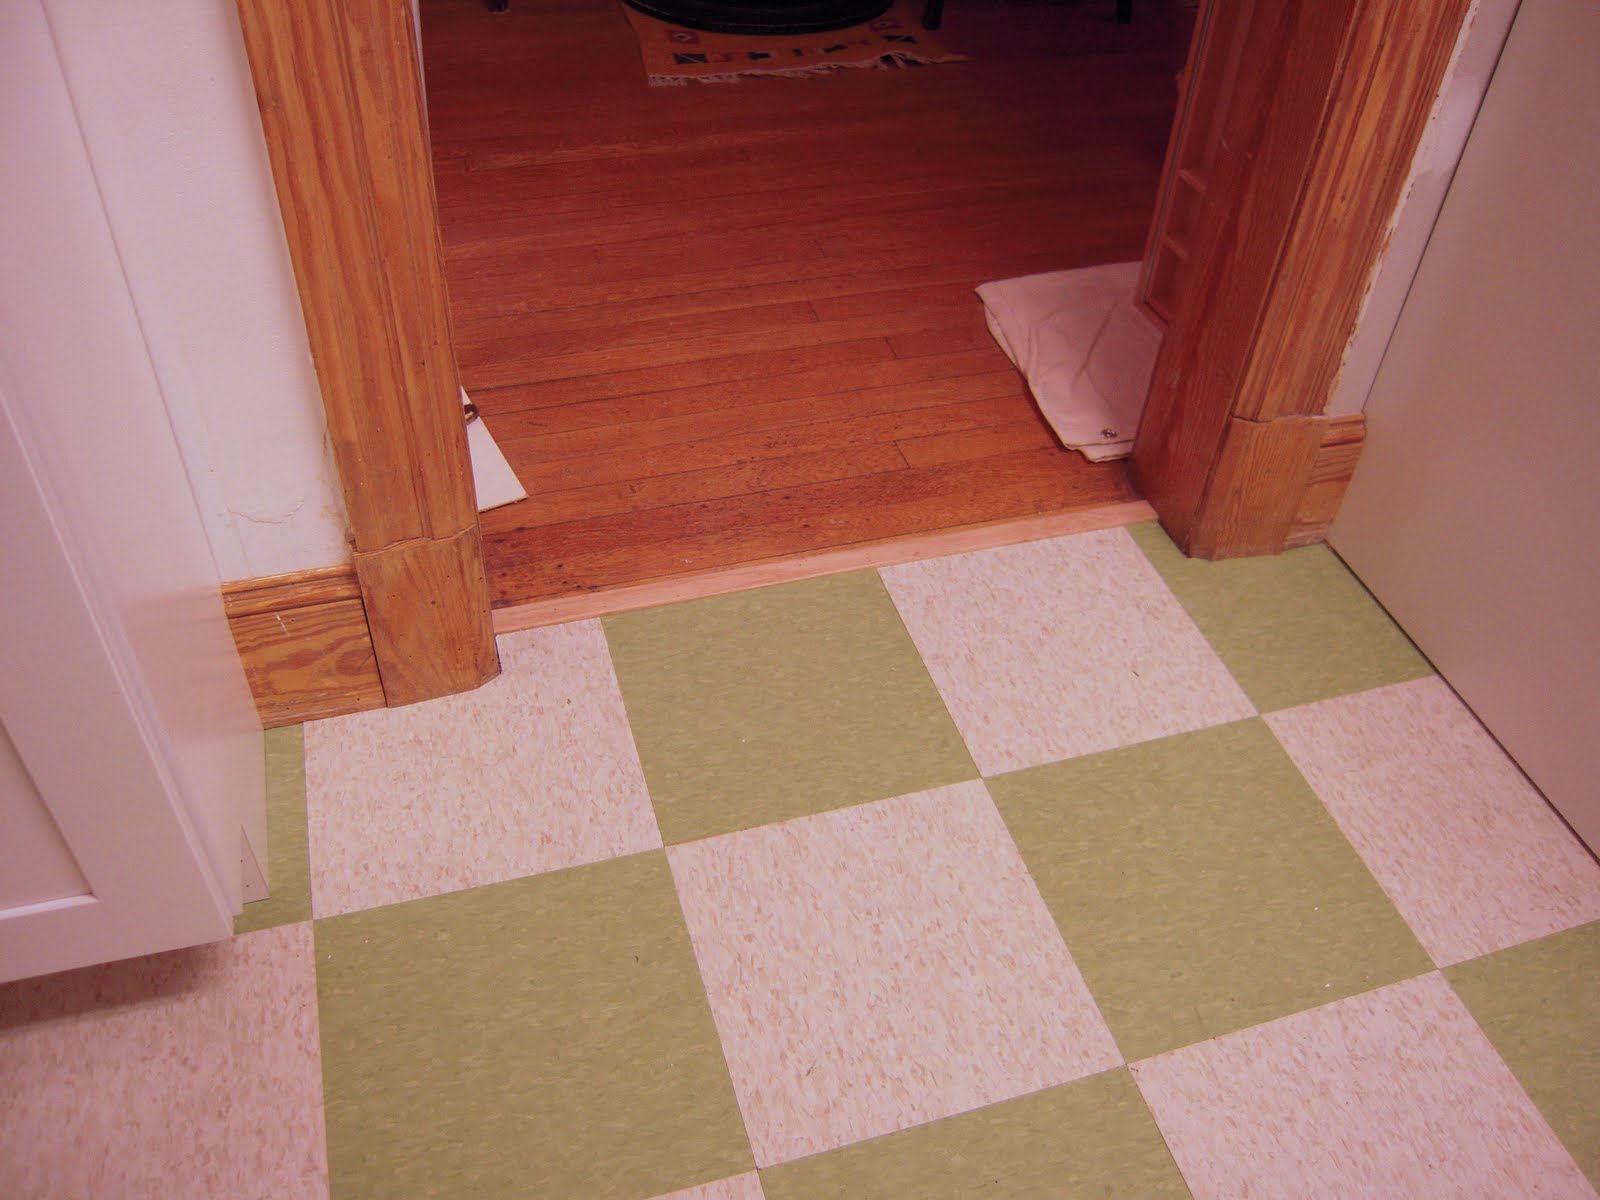
I feel like this room already looks better than its former self. For instance, look at the perfectly level transition between plywood underlayment and hardwood floor:


Wow! What a difference!

Sunday, January 1, 2012

Kitchen Conundrum: Tidbits

A few well remembered but not-long-for-this-world elements of the old kitchen are pictured below. Enjoy as much as we have!

Hand-painted electrical outlets (to match the green tile!):


Well crafted electrical supply for the over-the-range microwave (blue tape our addition):


Roach traps (have lost count of how many we've found). These were lurking in the gap between base cabinet and dishwasher:


Roach habitats, found under the dishwasher and neighboring cabinet, as well as behind the sink backsplash:


(PS: It's rather disgusting and scary to realize what you've been living with, despite what you thought was a relatively clean kitchen. Ugh.)

(PPS: Happy New Year! Did you eat your peas?)

Sunday, May 15, 2011

OMG, CRAZIEST project EVER (so far): Part 5

After I caulked the medallion to the ceiling, I removed the fixture (I had to leave it in place during the caulking for spacing and support) and painted the medallion and caulk to match the ceiling (Martha Stewart Glass of Milk in flat). I suppose it's a little more ornate than I might have chosen, but the acanthus leaf design is similar in shape to the scallop shell pattern on the glass globe of the light fixture. Whatever works!


In a few hours, my paint (2 coats) had dried, and I finally installed my light. Behold what 5 days of fiddling around (on a project that should have taken 5 hours) will get you:


For reference, here's what the foyer looked like before this change:


Pretty good, right? I *think* it was worth all the effort.


Wednesday, May 11, 2011

OMG, CRAZIEST project EVER (so far): Part 3

Okay, so there're these wires and pipe sticking out of my ceiling.


After a little Googling (like this), I decided that the pipe was likely part of a long-gone gas lighting system. And I guess because it was up in the ceiling and difficult to fully remove, previous residents of The Ear just decided to incorporate it into their contemporary lighting needs. Hence the little threaded bit on the end, which was holding up the previous light.

Looking up into the hole, I could see why there was no junction box to attach a light to: the pipe was in the way. The wires were coming out of a ribbed metal tube attached to the floor joists and were spliced onto the lamp wire from the old fixture (which I had to cut).


Well, it looked weird, but I figured I could just attach my new light in the same manner as the old one, by screwing my mounting bracket to the old gas line. One problem though:


The gas line stuck out farther than my fixture was deep. Hence the plastered-to-the-ceiling canopy of the previous fixture. I set about looking for a fix, cutting up all manner of round things.

OMG, CRAZIEST project EVER (so far): Part 2

So after obsessing for months about what kind of light to get for our entryway, I was ready to remove the old one (after cutting off the power at the circuit breaker!). I knew there was something a little fishy about it, based on the canopy by the ceiling. Check out the protruding, painted over rim around the top, and the punctured hole through which the lamp wire feeds into the light. Not the usual order of things.


To get the light down, I had to cut its wire and grounding wire. The twisting motion of the nut and chain created too much tension in the off-center cord to do anything else. So once I got the fixture and the canopy down, I found:


Another canopy! Wha? Not only did this one appear to be plastered/painted to the ceiling, but it also sported the same puncture hole for the lamp wire, plus a....bit of threaded pipe? Protruding from....some sort of black metal thing? The whole contraption, though unusual looking, was very well affixed to the ceiling. I whacked it with my hammer a few times, to no avail. I resorted to ripping it apart with pliers.


The second canopy, freed from its moorings. Look at all that goop that was holding it to the ceiling!


And underneath it all.....what the hell? A hole in the ceiling with wires dangling out, no junction box, plus a large metal pipe, going up into the innards of the house, out of sight. What now? Told y'all this would get crazy.

Friday, April 29, 2011

Dining Room, Now with (better) Light

You may remember from my last post that our dining room was starting to pull itself together, except for the off-center, too-high chandelier. After poking around on the Internet for about 20 minutes, I learned how to fix this blemish on my otherwise nice room.


I had to buy a long length (about 6 feet) of lamp wire (same thing the hardware store would sell you to rewire an old lamp), some chain, and a hook with a toggle bolt. I also needed a couple of pairs of pliers, and some help from my every-handy mom (it's so nice how she visits when I need to get something done!).

First, we took the chandelier down from the ceiling so that we could clean it and attach a longer wire. Everything looked pretty normal up in the junction box under the chandelier's bonnet.


After cleaning up the (very dusty) chandelier, we unscrewed the ring on its top so that we could remove the cover and expose the wiring. As I hoped, the chandelier was wired in a fairly straightforward manner: the black wires from the light sockets were all bundled together and spliced to the black wire of the main cord, and likewise for the white wires. We disconnected the too-short main cord from these bundles (after twist-tying the bundles together to keep things organized!), then spliced in our new, longer main cord.


We got the chandelier rewired and put back together. Next, we drilled a (rather large) hole in the ceiling (made difficult by my lack of a half-inch drill bit) to fit our hook and toggle bolt. These are kind of fun when they go in easily, and frustrating when they don't.


Several hours later, we concluded our project with the beautiful vista below. Reattaching and correctly placing the chandelier was much more difficult that we expected; as we screwed the parts all back together, the long length of chain and wire became terribly twisted. However, the ours of having our arms in the air fooling with things above our heads were worth it. We can now see our food while we eat it! Hurrah!


Tuesday, December 7, 2010

Thanksgiving Leftovers: And It Was Good

Ma and Pa MJ were visiting the Sow's Ear for Thanksgiving. As I mentioned a couple of posts ago, we roasted our first turkey, plus trimmings, etc.

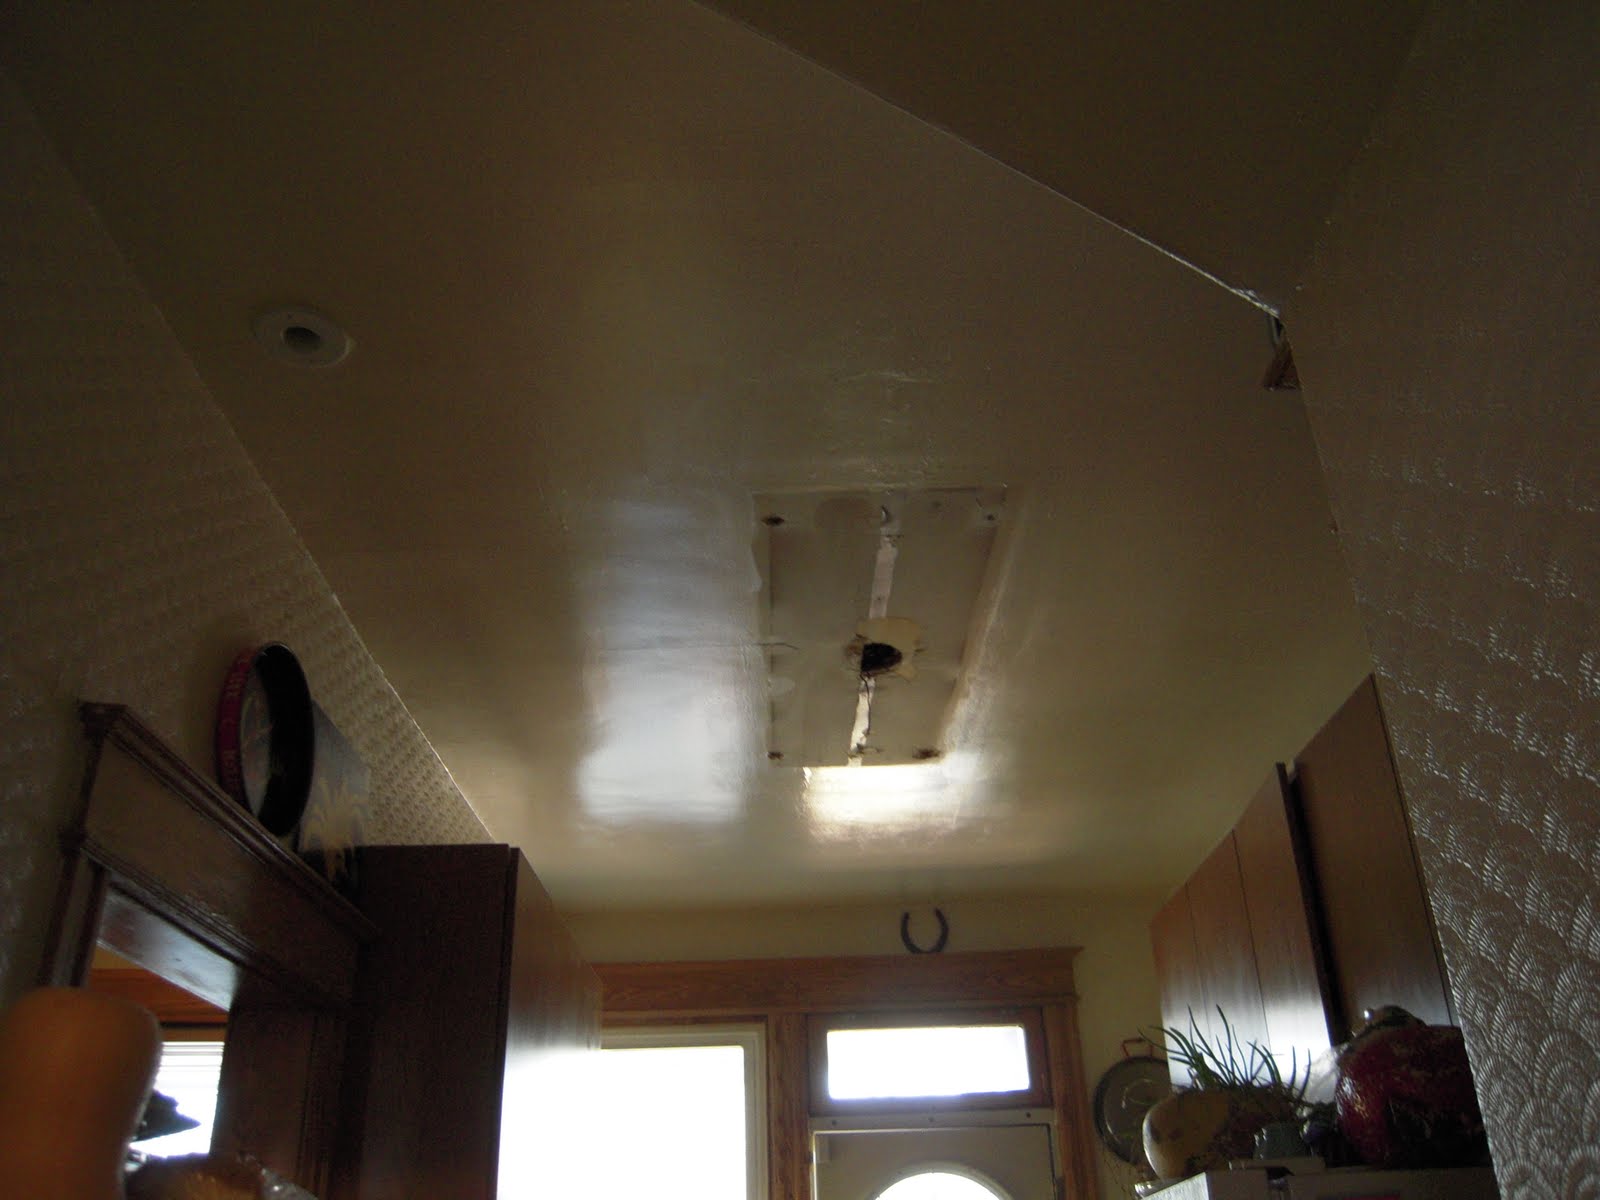
We also taxed our small, dim 90's Civic kitchen heavily, what with three cooks making food for 20. Ma MJ, a modern day Prometheus of fluorescent light, decided to make an improvement in the situation. She decided to swap this (imagine a dingier, dimmer, painted on version):


For something brighter and more up to date. So did we rush out to Tyson's Corner or Montgomery Mall or Georgetown for Black Friday? Hell no. We went to Home Depot.

Ma MJ took the old fixture down by herself, early-ish one morning:


(I like how she gets all dressed in her cute clothes to do projects.)

She revealed big holes and the remainder of an older light fixture/connection in the ceiling.


She then enlisted helpers. Among other things, we held our arms in the air for really long stretches of time, struggled with previously used toggle bolts, and used a quarter-inch drill to make a 3/8 inch hole.


Finally, sometime in the afternoon, the new fixture was up. But it would not turn on.


We decided the ill-conceived and ill-placed (although hand painted green to match the tile!) rheostat knob was to blame. After another trip to the hardware store (an hour before closing time), we were installing a proper switch.


Rheostat remnants:


With the light now working, we struggled to snap the cover in place (arms in air for another long period of time).


A day's worth of work later, our new light is brightening up our kitchen like our own personal sun.


Now if the dishwasher would actually wash dishes instead of coating them in soap scum, we'd have a revolution on our hands.

(Photos here mostly courtesy of Pa MJ (not pictured)).