Showing posts with label front bedroom. Show all posts

Sunday, November 25, 2012

The Crappy Little Closet That Could: A Thanksgiving Project

Saturday: we painted the shelves.


Sunday: we filled in the hole in the floor.

before
after!  why pink?  why not?

The finished product!


Okay, so not totally finished.  We haven't filled the shelves with our belongings, or figured out if we need to buy any over-the-door storage, or hooks, or something else.  But, the hard part is finished, and it's nice to see our new closet pristine and empty for a little bit before we fill it up.  Pretty good for a long holiday.

Friday, November 23, 2012

The Crappy Little Closet That Could: A Thanksgiving Project

On Friday, we began work on our closet shelves.  First, we made a paper pattern to capture the dimensions of the odd shape (each shelf is a pentagon).


We traced around our pattern on our plywood.  Then we made many many cuts with the circular saw while enjoying the late-afternoon sun on our back patio/wood shop.


And lo and behold, the shelves fit!  We've got ourselves a revamped and way-more-useful closet!


In between times, we accomplished one other thing today: we picked up our the antique mission-style sideboard that we bought off Craig's List for a song.  Fits just right!


The Crappy Little Closet That Could: A Thanksgiving Project

On Wednesday, I got the interior of the closet all painted gray for a fresh finish.  I used leftover paint from some of our other projects.


And then, 'twas the night before Thanksgiving, and we went to Home Depot for plywood!


On Thursday, Thanksgiving Day, we made pies and ate them.

Wednesday, November 21, 2012

The Crappy Little Closet That Could: A Thanksgiving Project

Monday & Tuesday: after cleaning out the closet, I spackled, patched, and caulked.  There were many holes in the walls from old hanging systems that were no longer extant (as well as an old, capped gas line you can see near the middle of the picture).  I also sealed the gaps in the drywall box (the left edge of the picture) that houses more HVAC ducts.  This ought to help cut down on the dust in the closet.

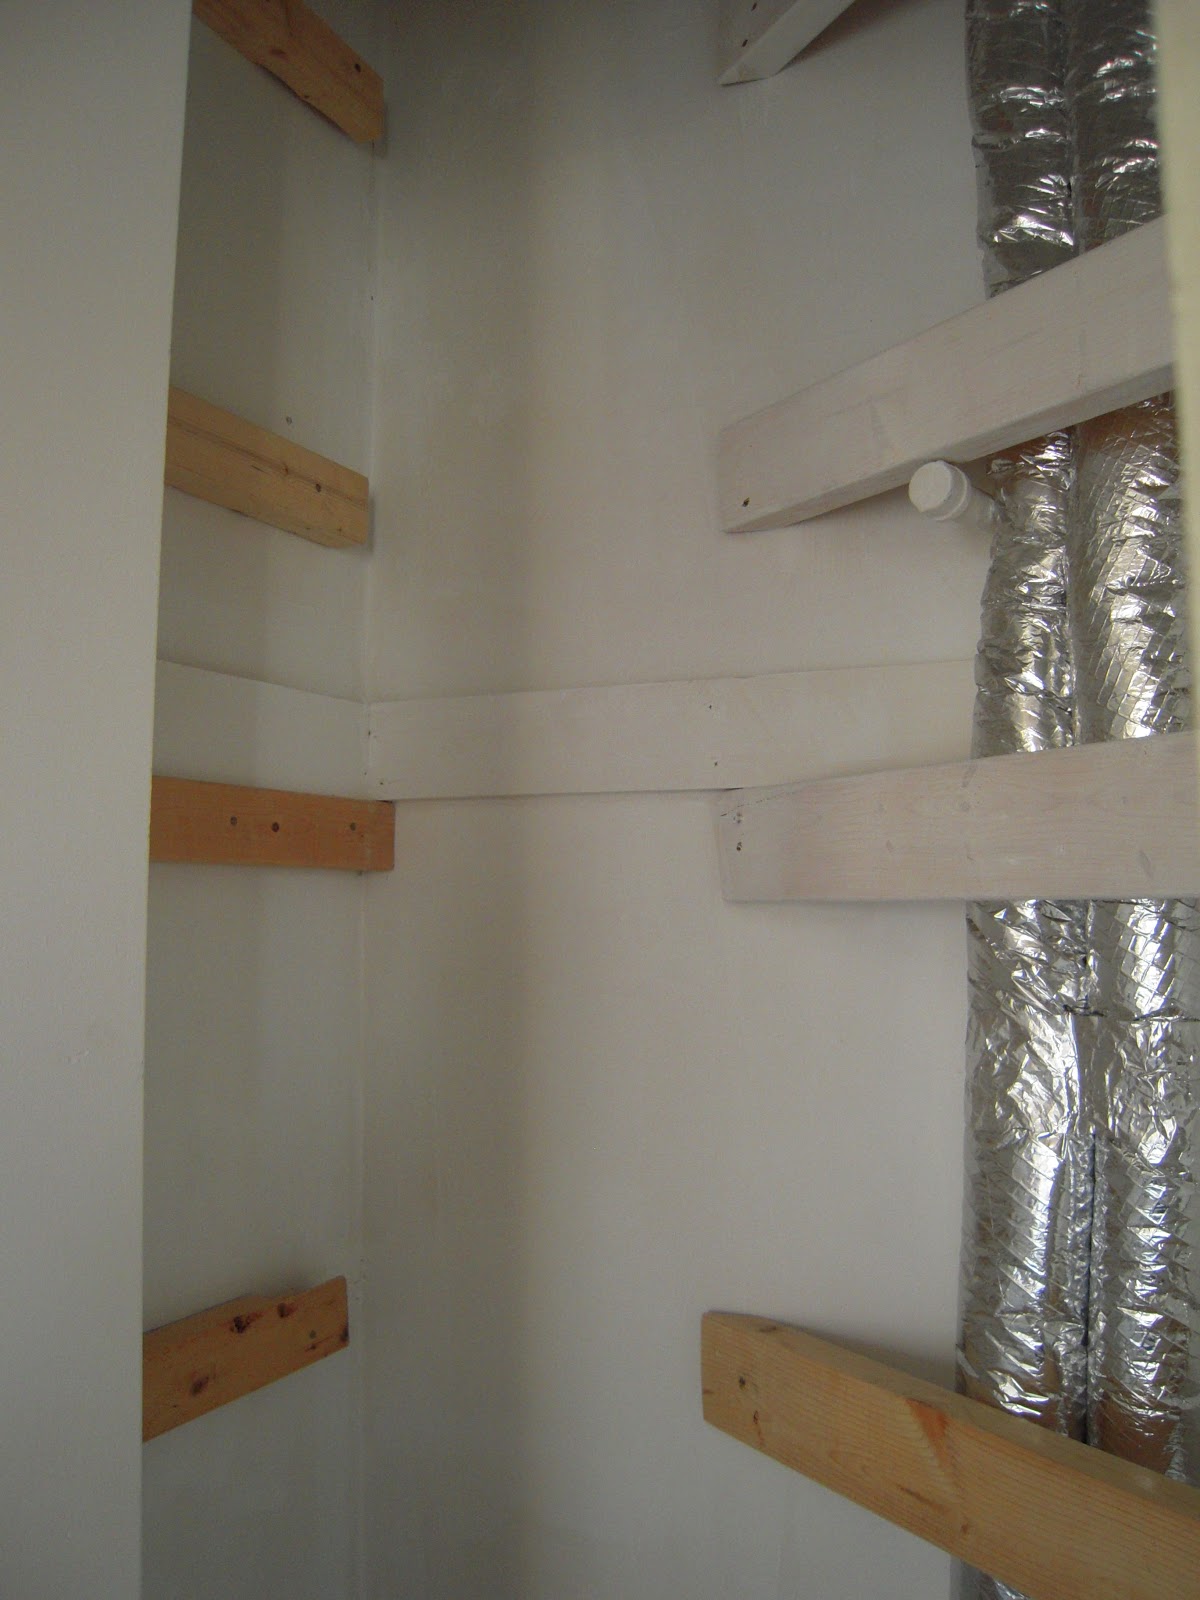
I created some additional shelf supports with scrap wood left over from my basement demolition and painted the whole space with primer.


The Crappy Little Closet That Could: A Thanksgiving Project

Hello Internet, it's been a while!

Not too many projects have been undertaken for the past few months here at the Sow's Ear.  We just enjoyed the last fruits of our garden (we had so many green tomatoes when we finally ripped out our vines -- couldn't give them all away or find new recipes fast enough) and turned our attention to other things.


I realized that I would have a good chunk of time over the Thanksgiving holiday and decided to tackle a remodel of our bedroom closet.  When we moved in, this closet had two barely-functioning, barely-hanging-on clothing rods, hung at a strange angle to get around the HVAC ducts.  We took those down (by pulling just a little; it was far too easy), stacked our shoes up inside (invariably I always wanted to wear the pair on the bottom), shut the door and forgot about it for a couple of years.  I have finally gotten tired of all the stacks of shoe boxes and decided to make some shelves.

So, the weekend before Thanksgiving, we cleaned out the closet (thanks, Mr MJ!).


Then we pulled out some drywall from the corner that was eating up space, covering two small HVAC ducts and lots of wood framing.


The wood framing is well attached and sturdy; I think I will use it as shelf supports.  But, I will have to cover up the large hole in the floor.


Tuesday, April 13, 2010

Bedroom Reveal

Before we bought the house, this was the front bedroom:


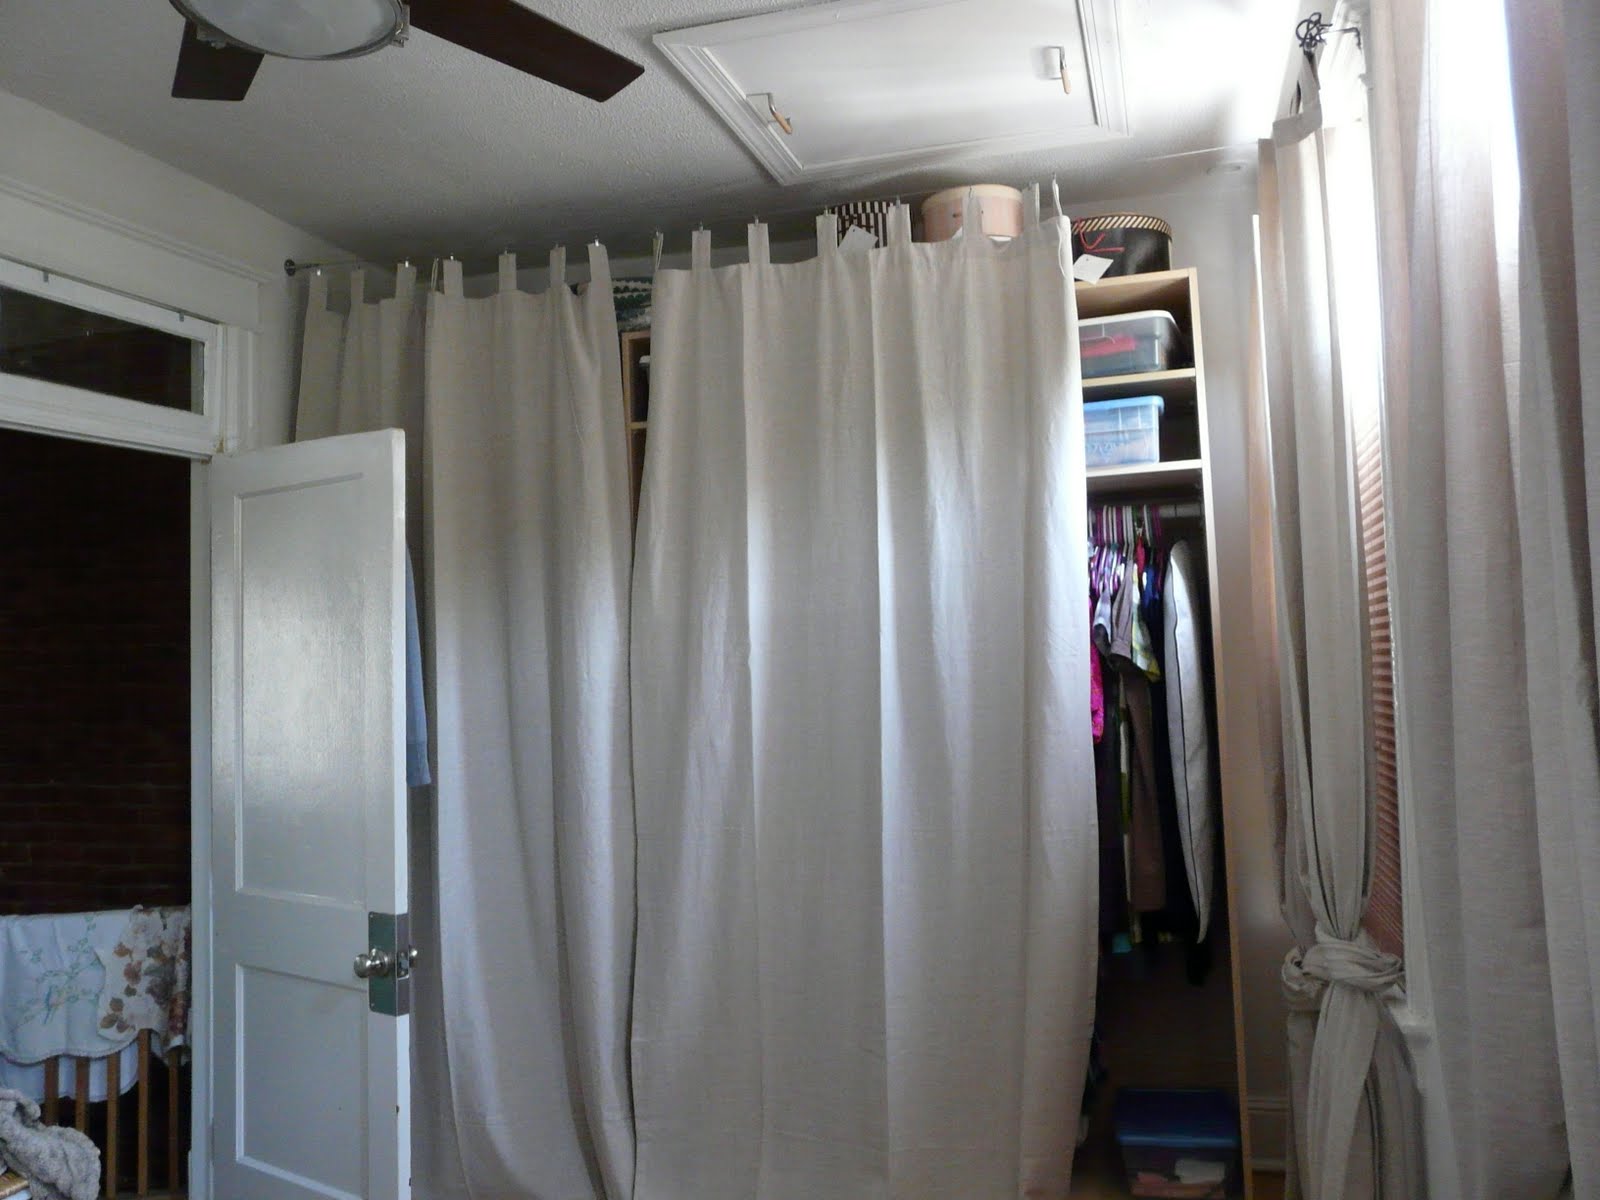
Here's the front bedroom in its current state:


The wall of curtains hide a huge Ikea Pax wardrobe system. Not beautiful, but quietly gets the job done.

1000% better now, I'd say.

Saturday, April 3, 2010

Time to Paint 2: My Beautiful Room!

Well, almost...no furniture or clean-up yet, but you can get the idea...


The Freshaire paint was okay....very little odor, almost pleasant-smelling. Any scent it did make was gone within 24 hours (I did have all the windows in the upstairs of the house open, however). Coverage was so-so. Even after two coats, I still noticed some splotchy bits on the walls and ceiling. I do very much like this color though....it is one of those that varies quite a bit with the light and surroundings, sometimes looking taupe, sometimes looking milky, changing subtly all the time.

Thursday, April 1, 2010

Time to Paint 1

So, time for some color. After careful study, we agreed on "True North," a pale putty, warm, off-white. Here's the swatch:


The paint is a new no-VOC line carried by Home Despot. I thought I would give it a try to test its smell, coverage ability, etc. It costs a bit less than some of the other non-VOC lines out there, but has a limited palette and only comes in gallons.


Here's the room, corners and trim cut in and ready to roll:

Prime Time

I decided to prime all the walls and the ceiling in the bedroom. For this part of the project, I turned to old standby Kilz (latex) in white, a 2" nylon angle brush, and some good quality roller covers (including a long napped one for the textured ceiling). Here is the room all taped off, wrapped up, and cut in with primer:


Here is our favorite corner after two coats of Kilz. Would you change clothes and sleep in this room now? Yes, me too.


I took a little break by shelf-papering the linen closet. Because I need to have a stylish linen closet (since the rest of the house is not).

Sunday, March 28, 2010

Patching the Walls 3

I worked at patching the walls this past Thursday and Friday. Remember the moldy corner from earlier in the week? Here it is now:


Isn't it lovely? This weekend we drove around the DMV region in a rented UHaul van, looking for good thrift finds (none) and capitulating to the Ikea home-design regime (Pax wardrobe system). Next up: paint!

Patching the Walls 2

Here's my set up for patching:

My little plastic leftover container full of mixed joint compound, an old spatula for mixing, a couple of different taping/putty knives for applying the compound to the wall, and some Elmer's Glue for prepping the wall (you brush this on the area you are patching before the compound -- helps it adhere better).

Another key component of the plaster repair is fiberglass mesh tape. I embedded this in the joint compound covering the larger holes. It gives the compound something to hold onto while it dries and creates a smoother, more permanent patch.


A close-up of the tape outside the wrapper. If you squint, you can make out the tape embedded in the joint compound on the wall behind.


A finished patch waiting to dry!

Patching the Walls 1

After some Internet research, I determined that the best way to DIY-repair the holes and cracks in the bedroom's plaster walls would be to use Setting-Type Joint Compound. This comes in powder form in a big bag, and you mix it up with water yourself. This is better for plaster repair because it is denser than the pre-mixed joint compound that comes in a tub, so it won't shrink as much as it dries.


Of course, the proportions for mixing listed on the bag were for the whole 18 lbs. Since I'm not repairing the whole neighborhood, I had to play around and figure out my own proportions for a small batch. I used an old laundry detergent scoop for the powder and a small plastic glass for the water.


I discovered that I could mix different consistencies that were better for different purposes: a thicker mix for the initial hole patching, and a thinner mix to make a smoother second coat once the first was dry.

Wednesday, March 24, 2010

Moldy Corner


Fun surprises were waiting for me under the beautiful wallpaper: mildew! I believe this little colony was the remains of a once-flourishing civilization caused by a long-ago water leak.


Bleach to the rescue!


All clean (4 hours later)!


I've also been cleaning up all of the (glued-on, papered-over, painted-on) edges of trim and ceiling with a razor blade. Tomorrow, we patch.

Monday, March 22, 2010

The Great Wallpaper Scrape Begins...

While thousands of crazies descended on DC, I spent this beautiful first weekend of spring inside, scraping wallpaper. Almost every single wall of our new house is covered with lovely embossed wallpaper, topped by several layers of shiny paint.


With the help of a 6100 3M dust mask with P100 particulate filters, razor blades, a 14-in-1 tool, a spray bottle of soapy water, and a willing husband, I got about 85% of the wallpaper scraped off the walls of our future bedroom.


Score, spray, scrape gets the job done.